Blog
The Laptopkey.eu blog is a place for people looking for advice and information on laptop keyboard repair. We sell individual keys, hinges, and cups, allowing for quick and economical repairs without the need to replace the entire keyboard.

March 05, 2026
Simple Instructions on how to take off laptop keys
Index:
- Introduction & Safety Checks
- Tools & Preparations
- Removing Keys Safely
- Handling Larger Keys & Stabilisers
- Cleaning Keycaps & Keyboard
- Snapping Keys Back & Reassembly
- When to Stop & Replacement Parts
- FAQ
Introduction & Safety Checks
This guide explains how to safely remove laptop keys for cleaning, freeing sticking keys, or replacing damaged caps. Patience and proper technique protect delicate scissor clips.
- Shut down fully and disconnect power.
- Choose a flat, stable, well-lit workspace.
- Stop if the key resists or clips seem fragile; repeated forcing can cause damage.
| Risk | Watch for | Safe Action |
|---|---|---|
| Accidental input | Device sleeping or powered | Shut down and wait |
| Lost clips | Poor lighting, clutter | Work on clear, well-lit area |
| Broken mechanism | Unusual resistance, bent parts | Stop; consider replacement |
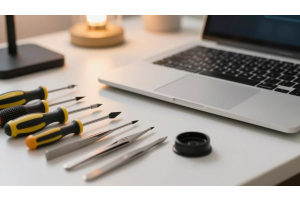
Tools & Preparations
- Wire keycap puller — sits under key without wide contact, gentle on clips.
- Small flathead screwdriver or plastic spudger — lift corners lightly.
- Improvised: thin plastic card or bent paperclip (never knives or metal tools directly on clips).
- Cleaning: compressed air, cotton buds, isopropyl alcohol (sparingly).
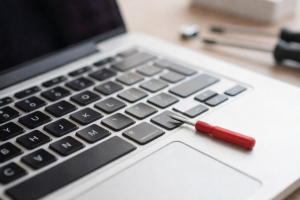
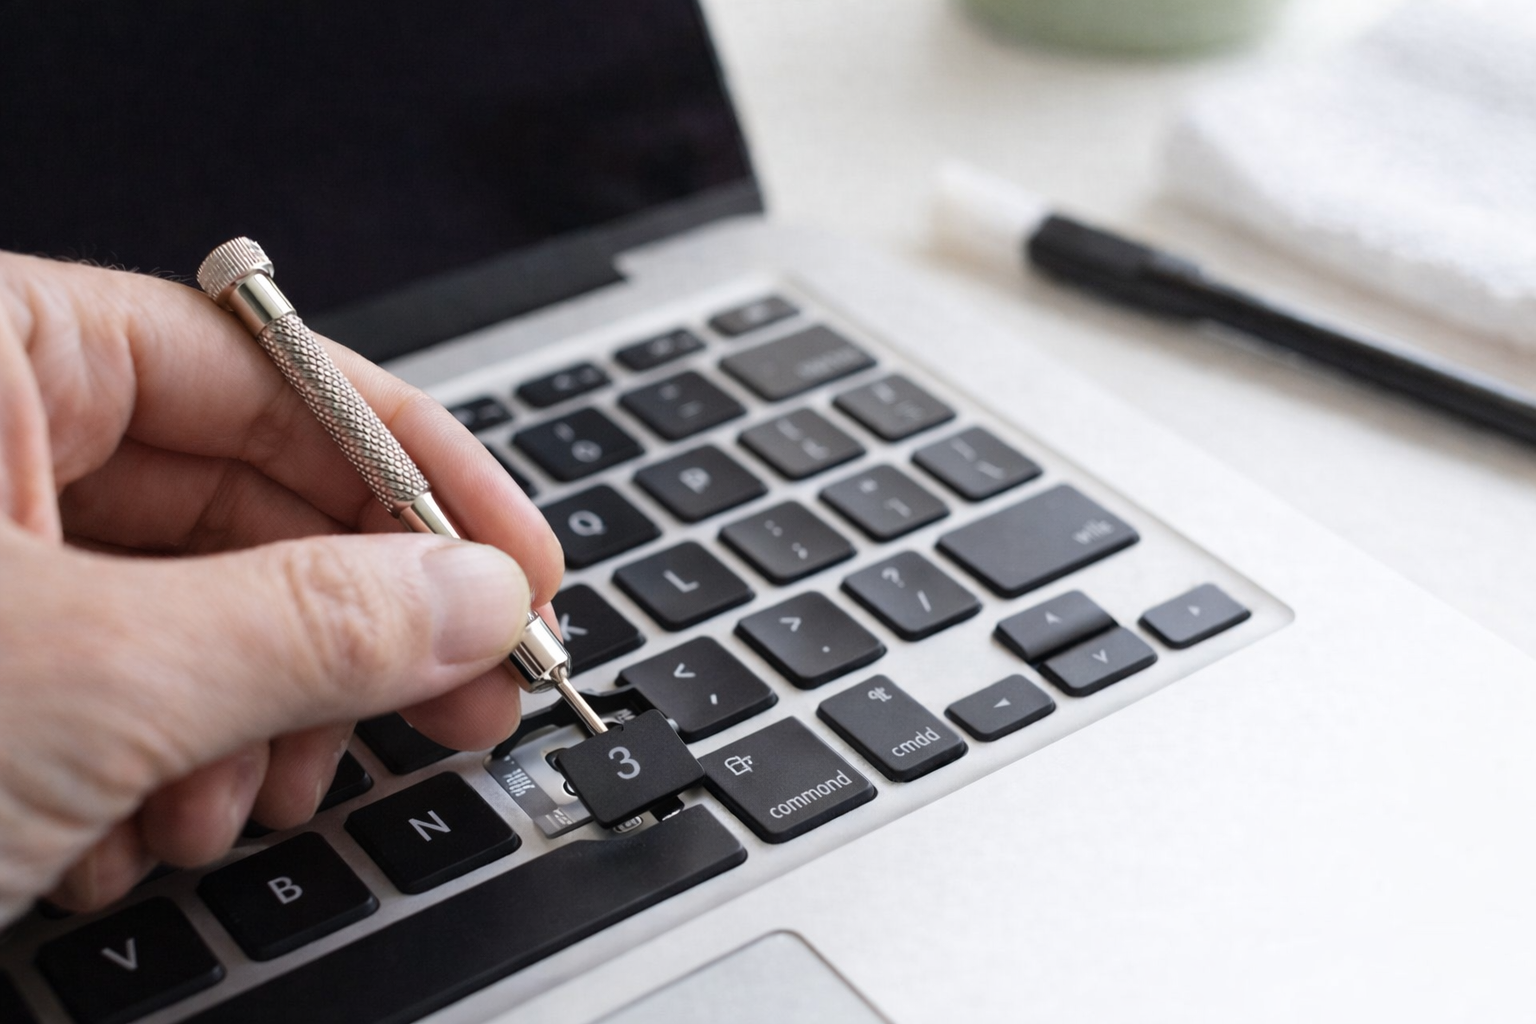
Removing Keys Safely
Locate tiny hooks beneath each cap; identify scissor clips. Slide a narrow tool under an edge and lift gently until clips start releasing.
- Start from the edge that unclips first, usually screen-side.
- Lift slowly and evenly; pause if a cap resists.
| Issue | Cause | Action |
|---|---|---|
| Key won’t release | Second clip still fastened | Lower slightly; unclip other latch |
| Key launches | Excessive force | Stop; check hooks, lift slowly |
| Broken scissor clip | Wrong pry point / force | Replace via laptopkey.eu |
Handling Larger Keys & Stabilisers
Spacebar, Shift and long keys use metal stabiliser bars. Lift edge by edge, unhook clips sequentially. Avoid twisting or bending the bar.
- Stop early if clips resist.
- Broken stabilisers or bent clips: order exact-match replacements.
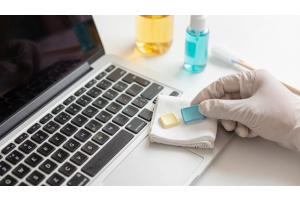
Cleaning Keycaps & Keyboard
- Quick clean: short bursts of compressed air at an angle.
- Sticky residue: cotton bud lightly dampened with isopropyl alcohol; never pour liquid into keyboard.
- Remove caps and soak in warm water with mild soap, rinse, air-dry fully.
| Step | Action | Reason |
|---|---|---|
| Remove caps | Soak in mild soap | Prevents water reaching keyboard |
| Rinse & dry | Air-dry 24h+ | Avoid moisture under caps |
| Wipe frame | Barely damp cotton/alcohol | Clean without soaking |
| Replacement | Order model-matched keycaps | Restores appearance & UK layout |
Snapping Keys Back & Reassembly
- Align keycap over scissor mounts, centre holes, press evenly until click.
- For stabilised keys, seat bar first, align cap, press gently along ends.
- If key resists, inspect clips or scissor parts before forcing.
- Confirm smooth travel and consistent register.
When to Stop & Replacement Parts
- Stop if mechanism is worn, clips snap, or cap fights back.
- Use compressed air or gentle cleaning first.
- For broken parts, order exact-match replacements for model and UK layout from laptopkey.eu.
FAQ
- Prepare: shut down, disconnect power, stable well-lit surface, photo keyboard layout.
- Safest tools: plastic keycap puller, plastic spudger; avoid knives, metal objects.
- Removing without damage: lift corners slowly, identify clips, stabilisers.
- Larger keys: unhook stabiliser bar first, lift edge by edge.
- Cleaning under caps: compressed air, damp cotton bud, no pouring liquid.
- Washing keycaps: soak in mild soap, rinse, air-dry fully.
- Snapping back: align over mounts, press evenly; stabilisers first for long keys.
- Damaged key or clips: replace with model-matched parts.
- Avoid removal: fused keys, delicate butterfly switches, multiple failing keys, or broken internals.
- Replacement sourcing: match brand, model, layout; laptopkey.eu for stabilisers and clips.
- Avoid: bleach, acetone, solvents, excessive liquid; use small amount of isopropyl alcohol only.
- Prevent debris: keep food/drinks away, use keyboard cover, clean with compressed air regularly.
- Improvised tools: thin plastic card, plastic-tipped tweezers; never metal objects or knives.
- Correct replacement: clips and scissor hinges square, stabilisers seated, test gently, realign if resistance.
Comment(s)
Recent Posts