Blog
The Laptopkey.eu blog is a place for people looking for advice and information on laptop keyboard repair. We sell individual keys, hinges, and cups, allowing for quick and economical repairs without the need to replace the entire keyboard.

How to Put a Key Back on Laptop: Step-by-Step Guide
Index:
- Introduction
- Identifying Your Key Type
- Tools, Safety & Setup
- Refitting the Key
- Cleaning Sticky or Unresponsive Keys
- Dell-Style Scissor Springs
- When to Replace Keys
- Final Checks & Maintenance
Introduction
This guide explains how to safely put a laptop key back, inspect the cap and retainer, and ensure proper travel. Stop and get replacements from laptopkey.eu if parts are broken or missing.
Identifying Your Key Type
Check whether your key has a single or nested retainer, the rubber dome, and plastic or metal hooks. Correct identification reduces the risk of breaking clips.
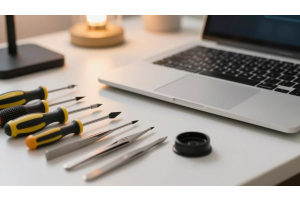
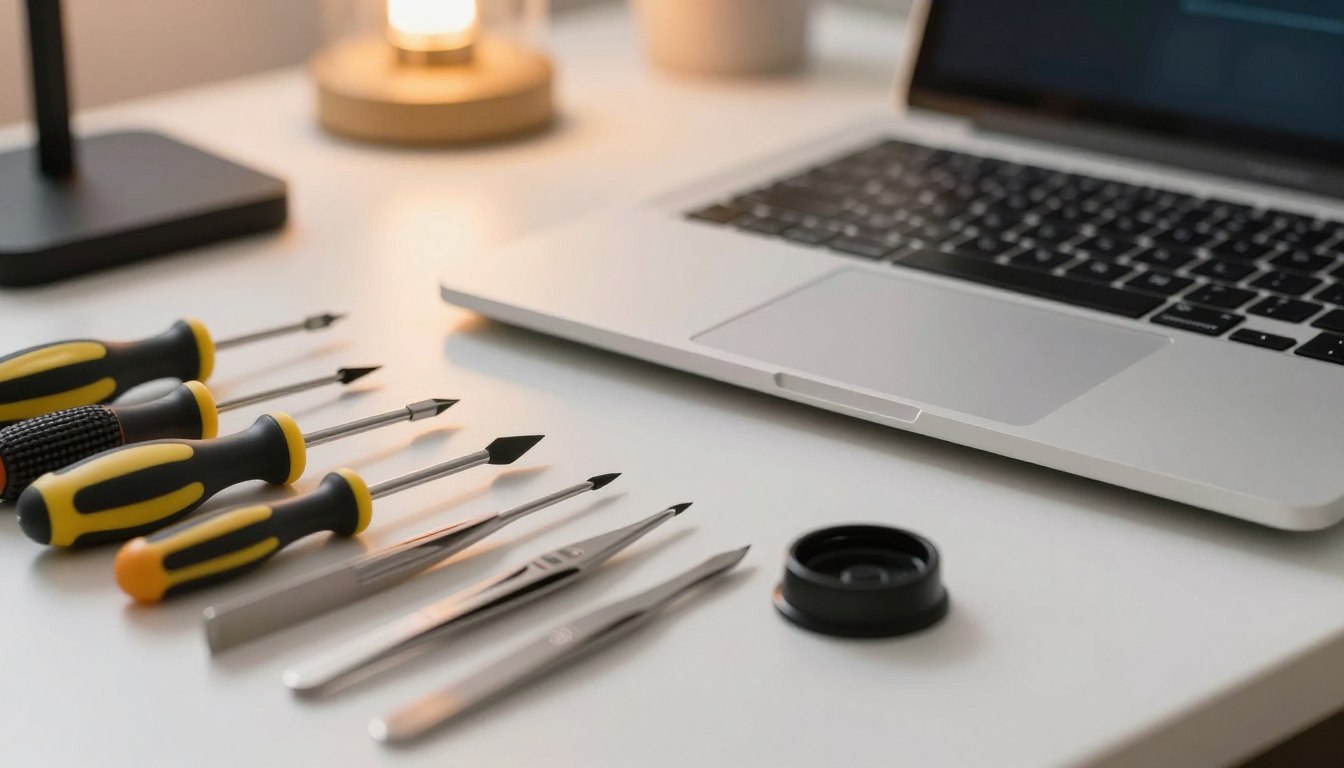
Tools, Safety & Setup
Power off, unplug and remove the battery. Ground yourself to prevent static damage.
Tools needed: plastic prying tool, tweezers, cotton bud, toothpick, small container.
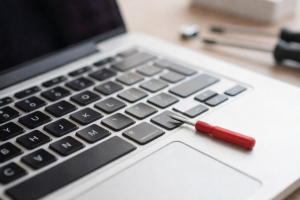
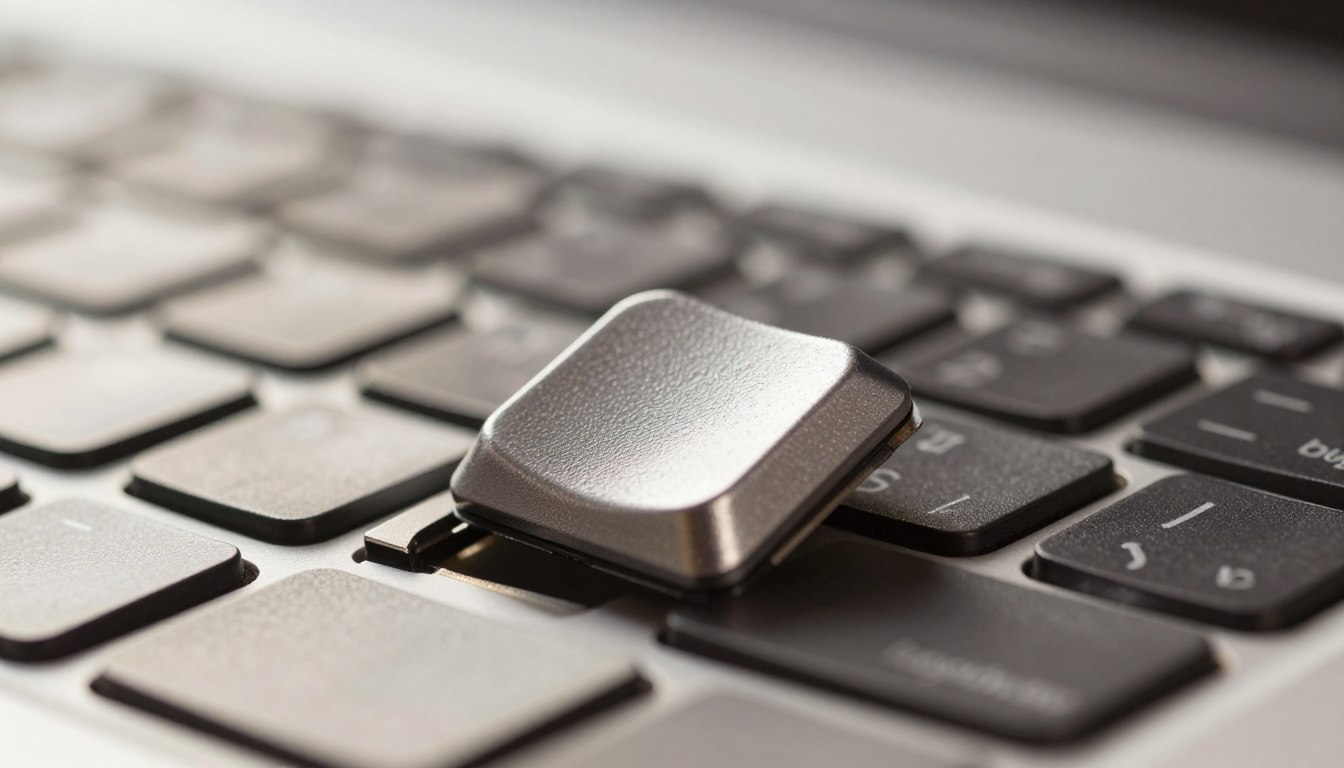
Refitting the Key
Inspect the keycap and base for damage. Rebuild the retainer if split. Hook one side first, then press the opposite side until you hear a click.
Test bounce, height and function. Re-check orientation if key wobbles.
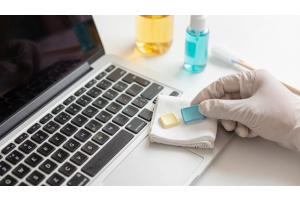
Cleaning Sticky or Unresponsive Keys
Power down and remove battery if possible. Clean edges with a lightly damp cotton bud and a toothpick for grooves. Use isopropyl alcohol sparingly and let dry fully.
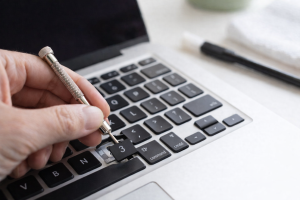
Re-seat the scissor carriage and rubber pad, then place the keycap back.
Dell-Style Scissor Springs
Align the keycap over the scissor spring. Press until both snaps engage. If the lower support bar is loose, clip it first, then secure the upper part.
When to Replace Keys
Replace the key if latches are broken, retainer warped, hooks bent, or parts missing. For exact replacements, visit laptopkey.eu.
Final Checks & Maintenance
Press across edges, verify bounce and height. Test typing for consistent input. Keep keyboard clean and address sticky keys promptly. Order replacements for worn parts to ensure long-term success.